Authenticated Web Scan
This guide provides a step-by-step walkthrough on running an authenticated web scan using Ostorlab.
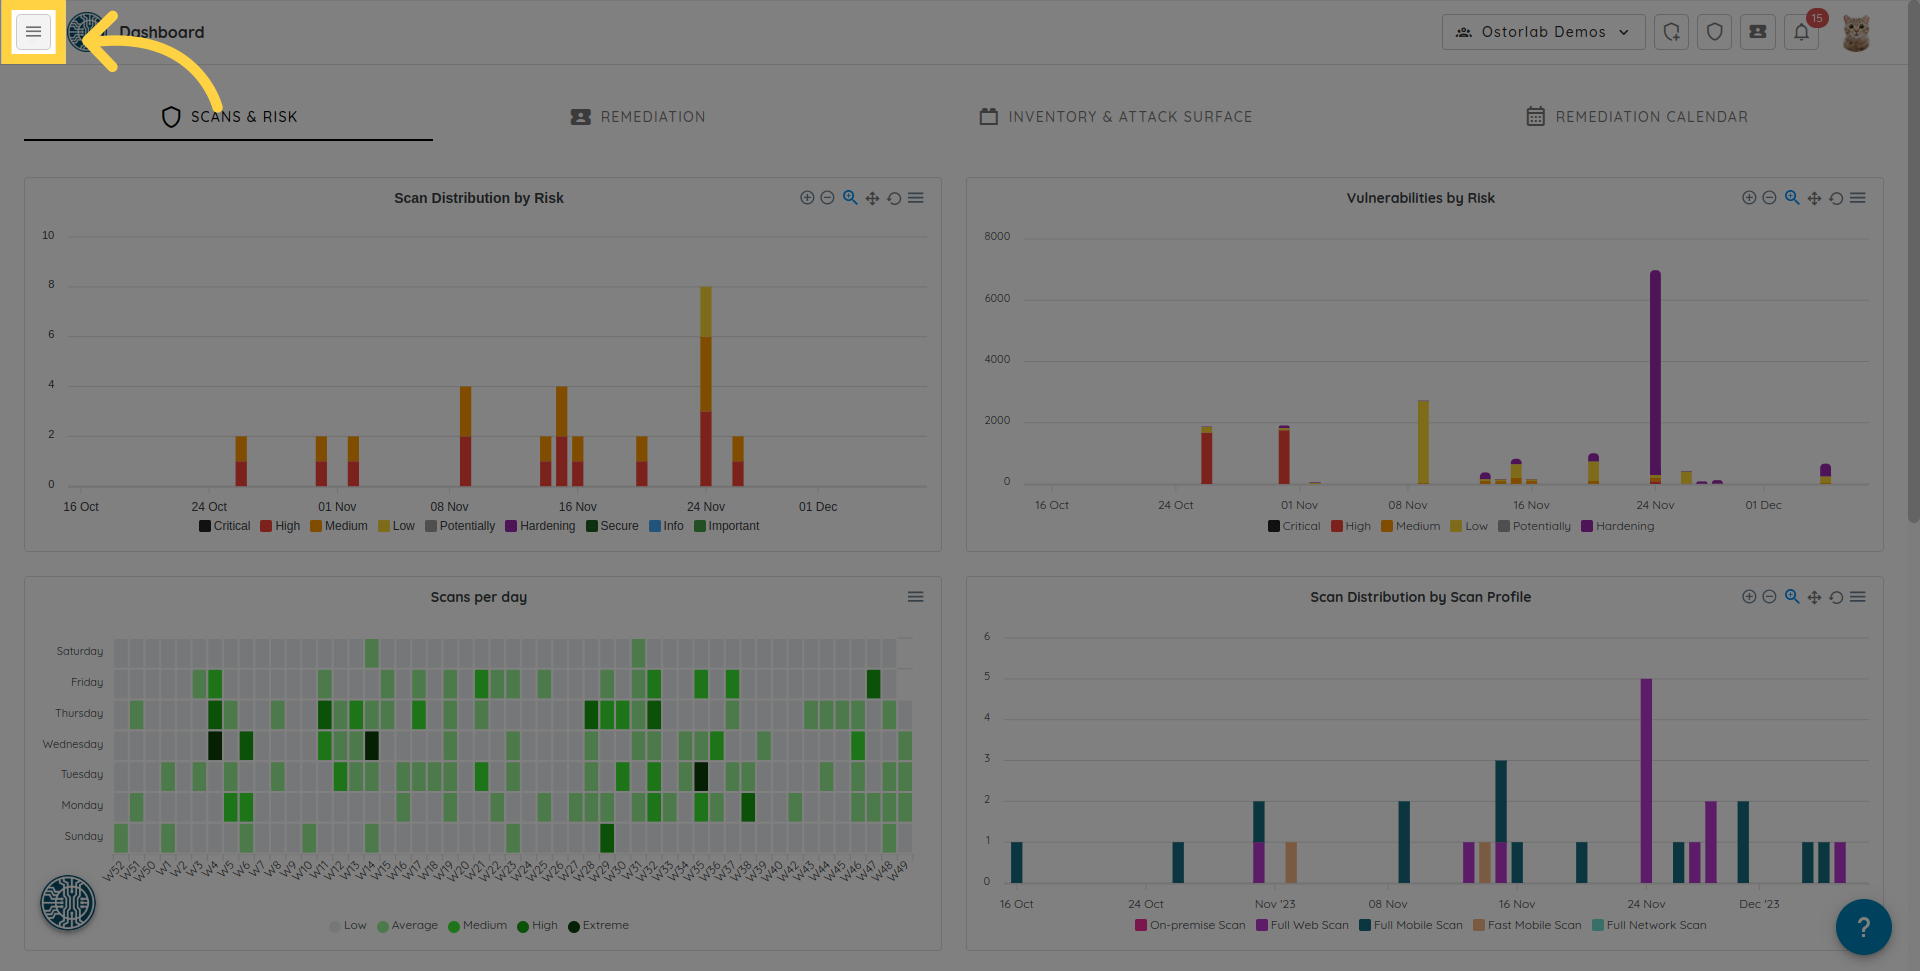
1. Click on the menu icon on the left
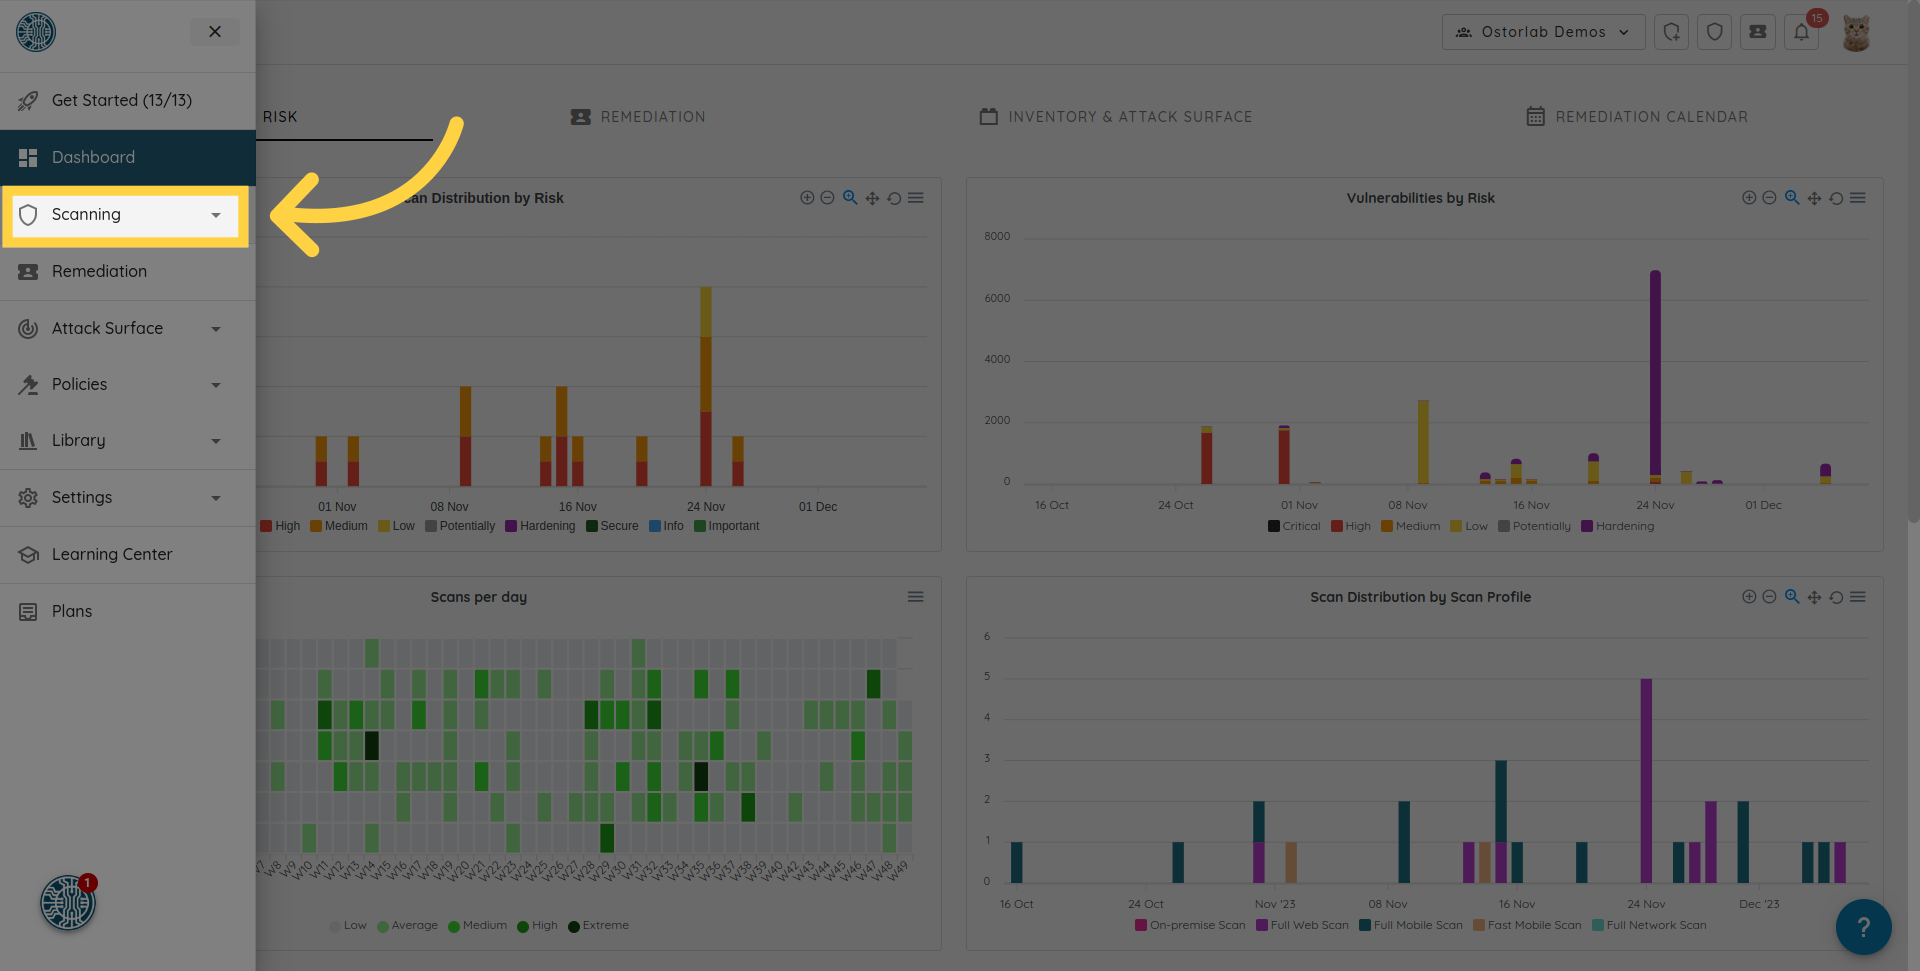
2. Navigate to the "Scanning" section in the menu
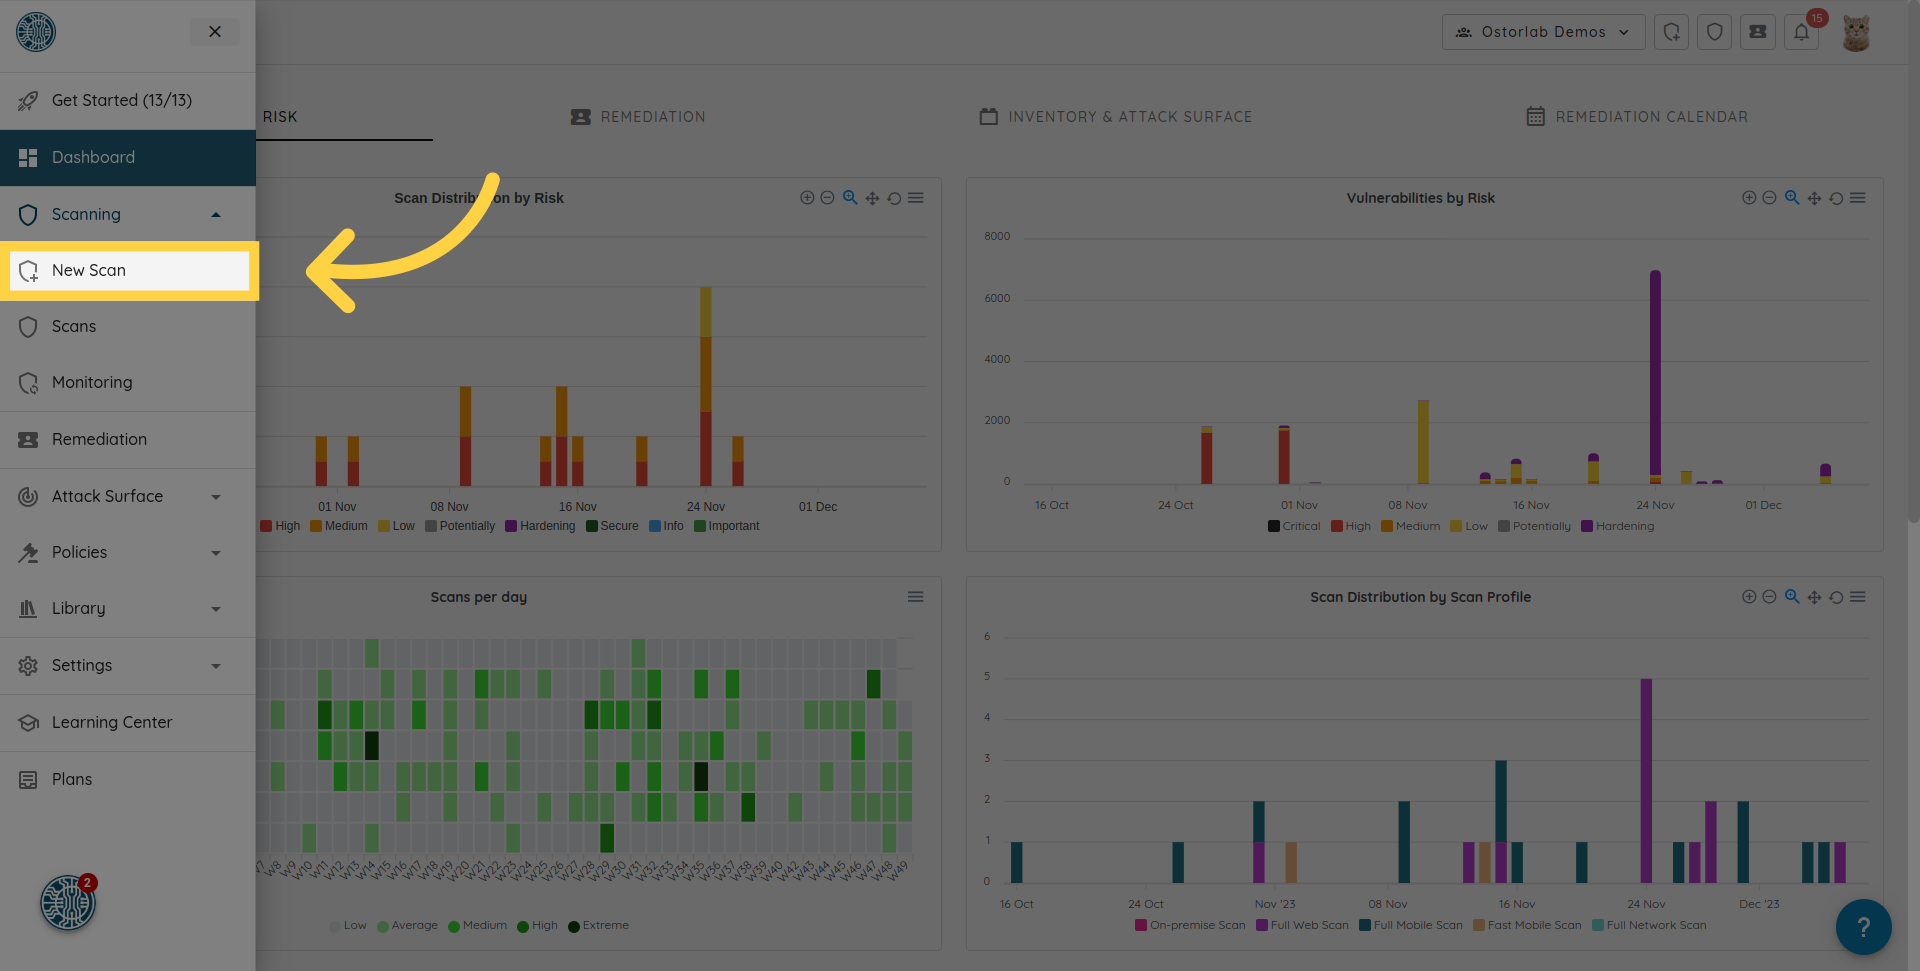
3. Click on the "New Scan" option
4. Click "Web App"
Choose the "Web App" option from the available scan types.

5. Click "Continue"

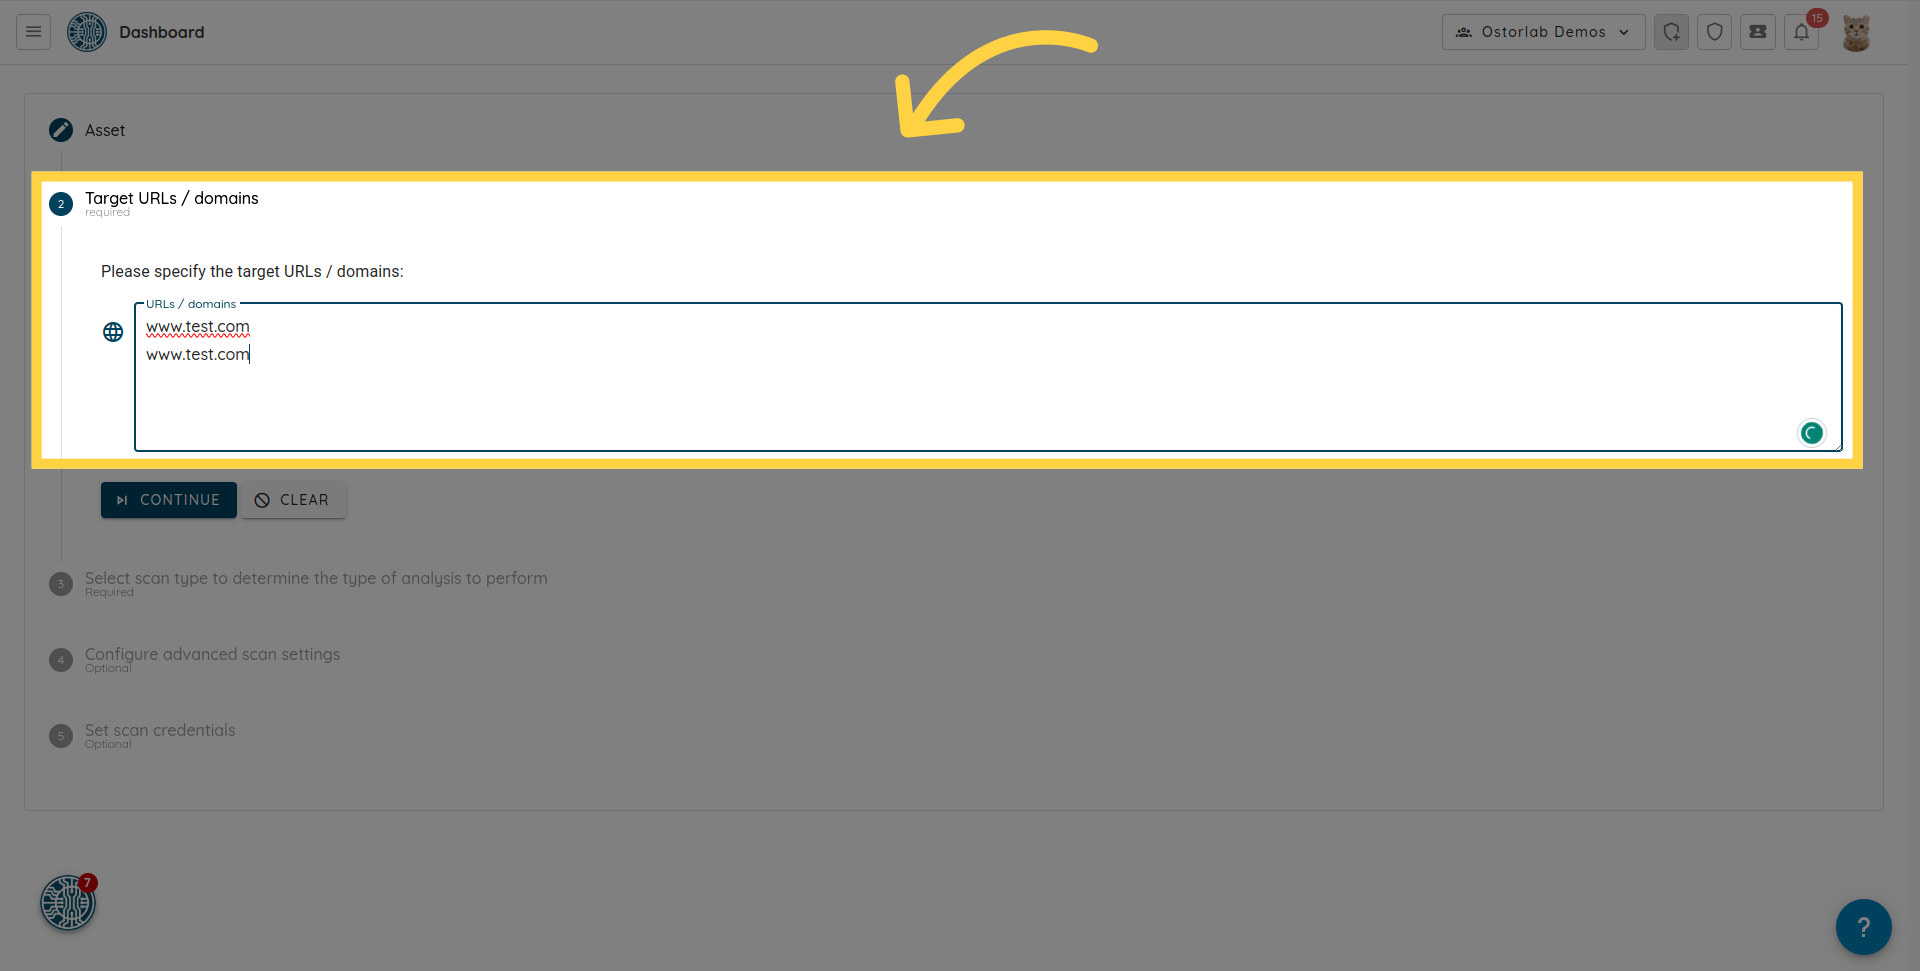
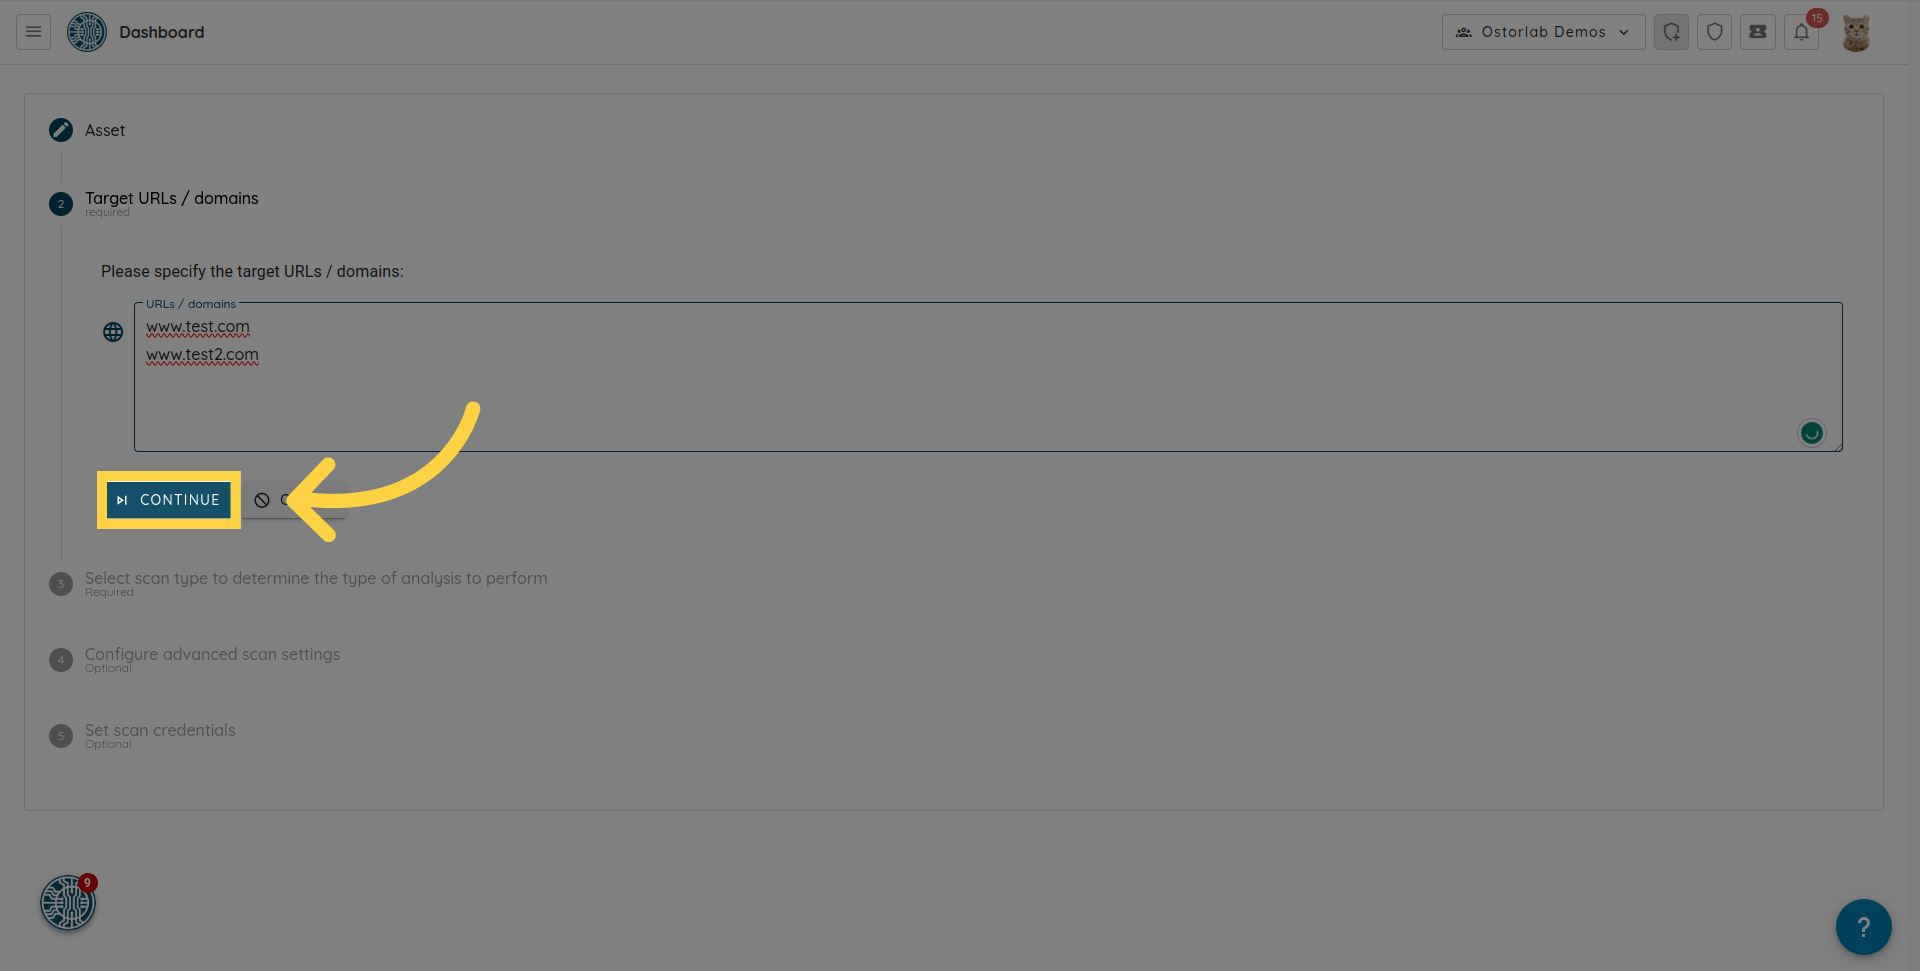
6. Specify the target URLs or domains
Specify the target URLs or domains. You can enter multiple URLs or domains by entering each on a new line.
7. Click "Continue"
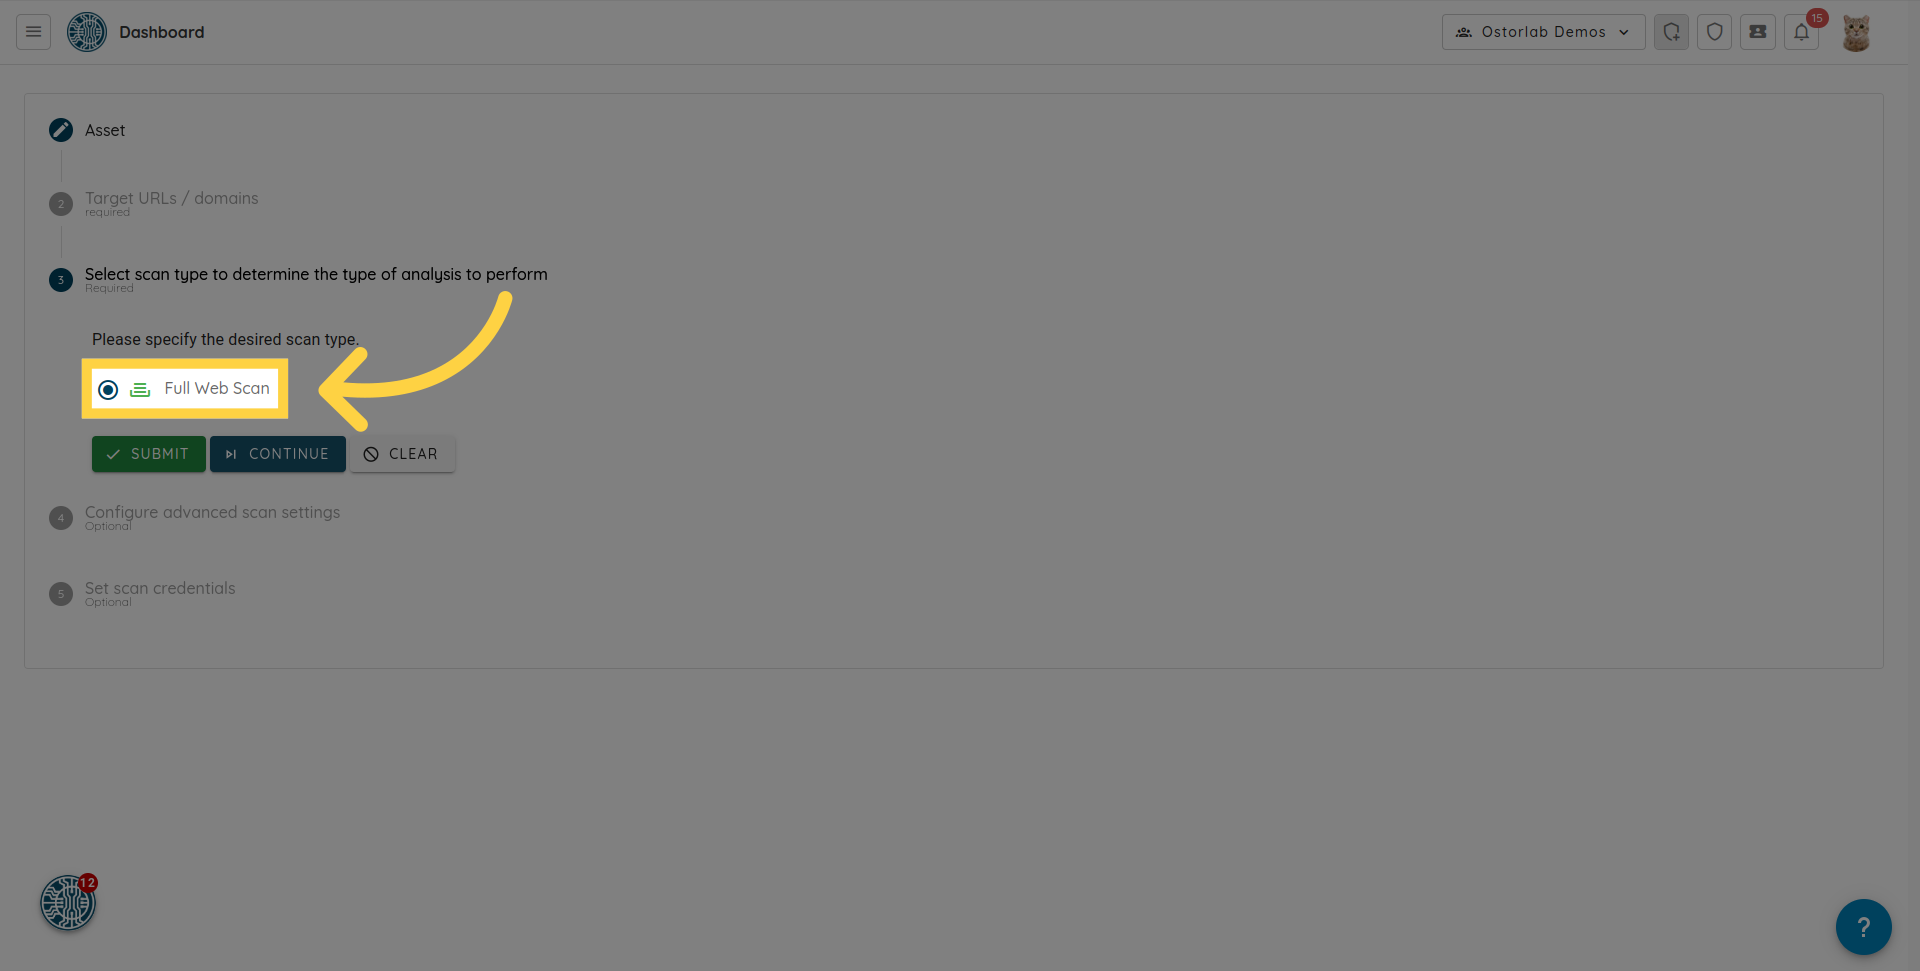
8. Select the "Full Web Scan" option
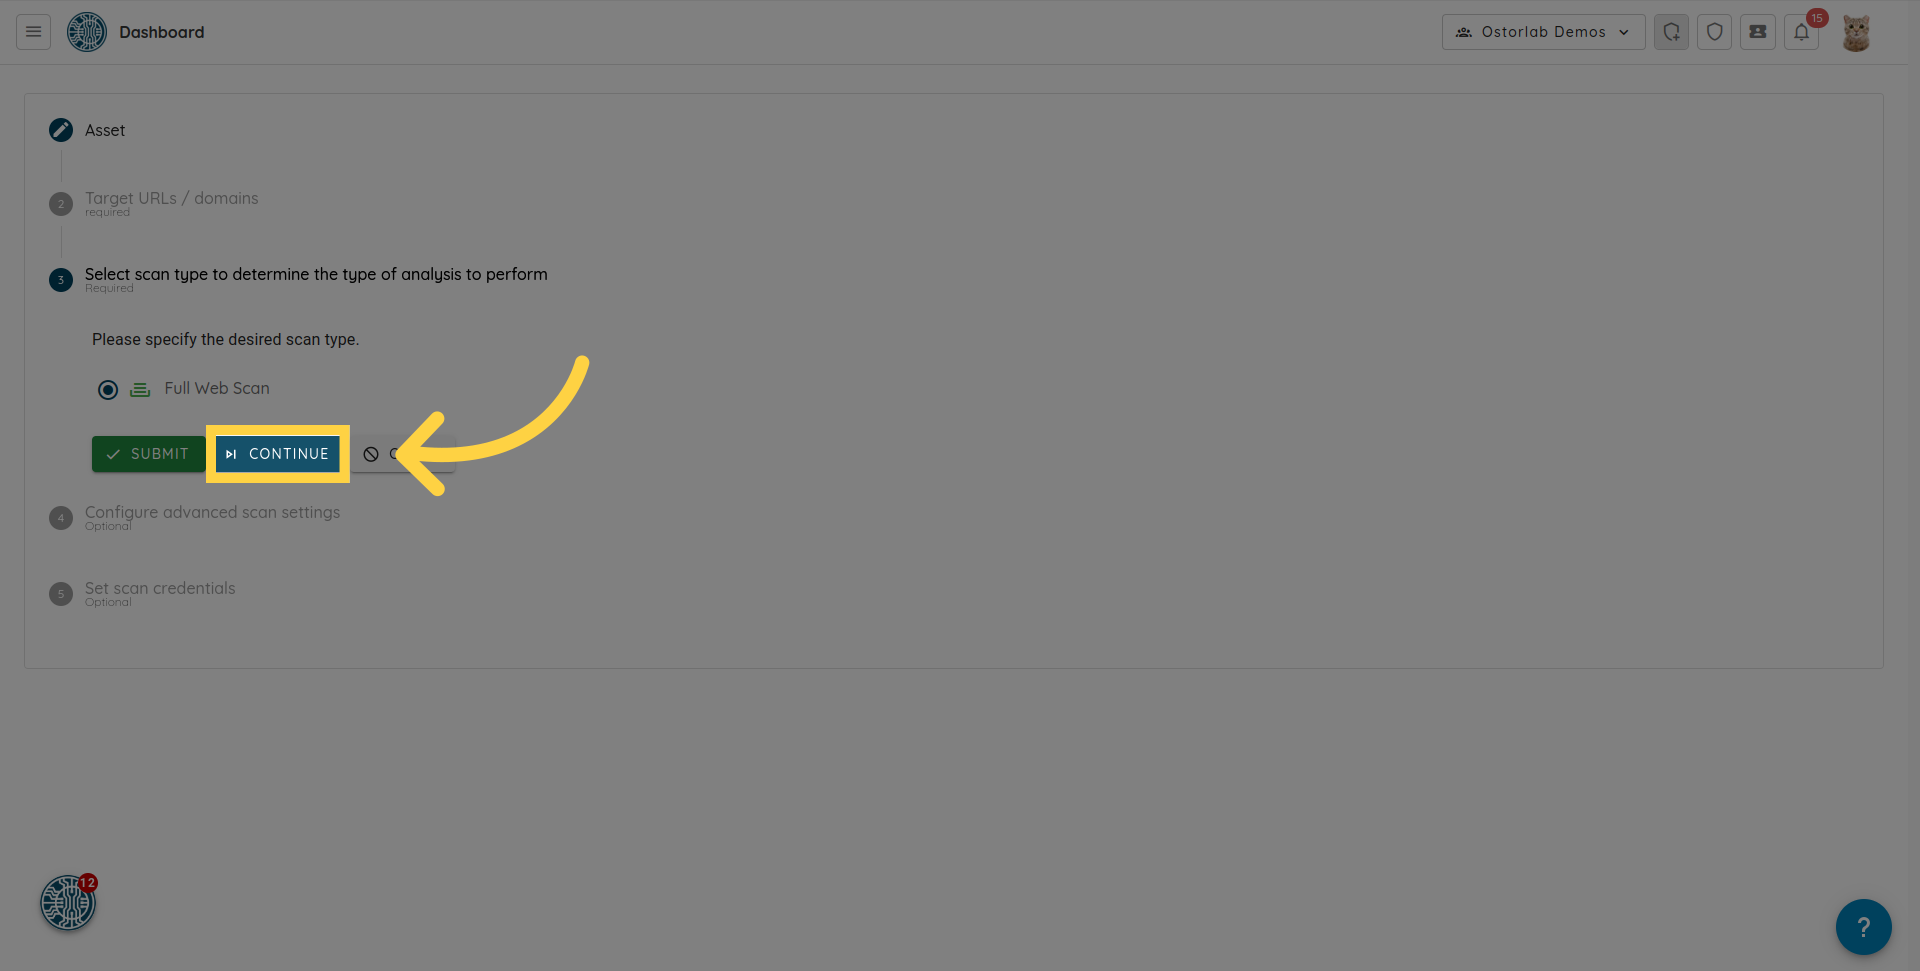
9. Click "Continue"
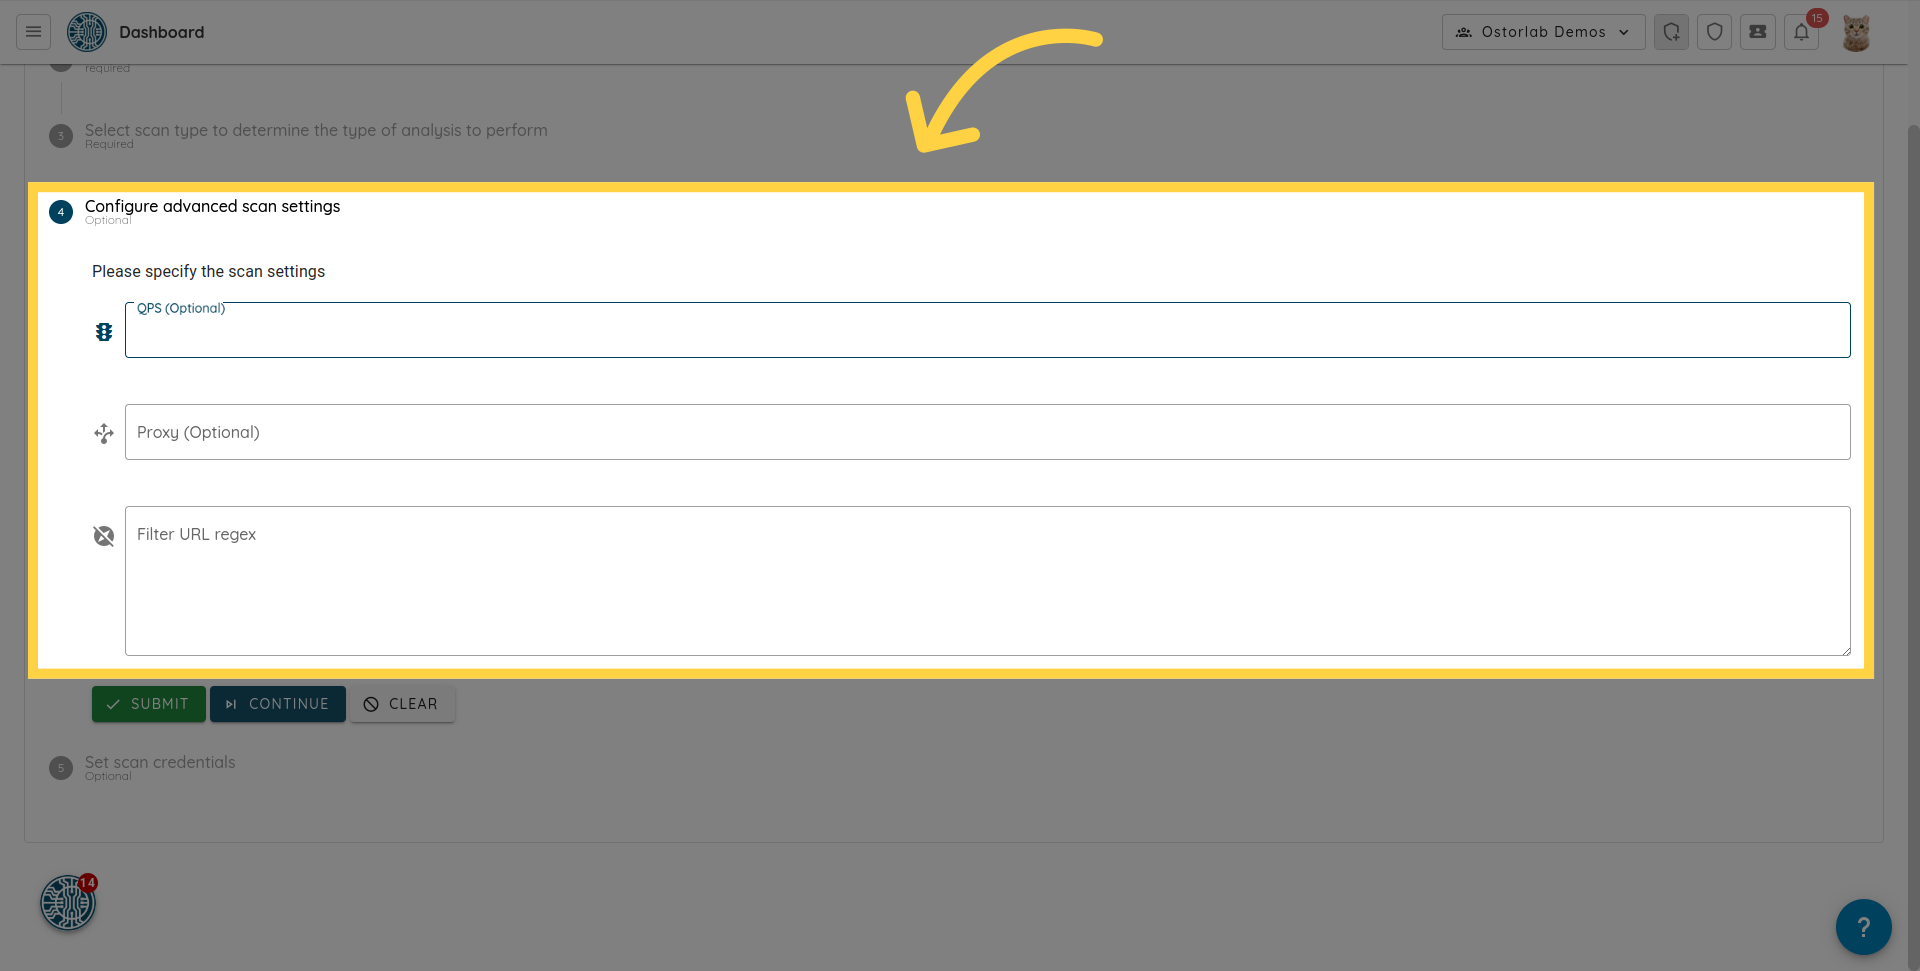
10. Optionally configure advanced scan settings
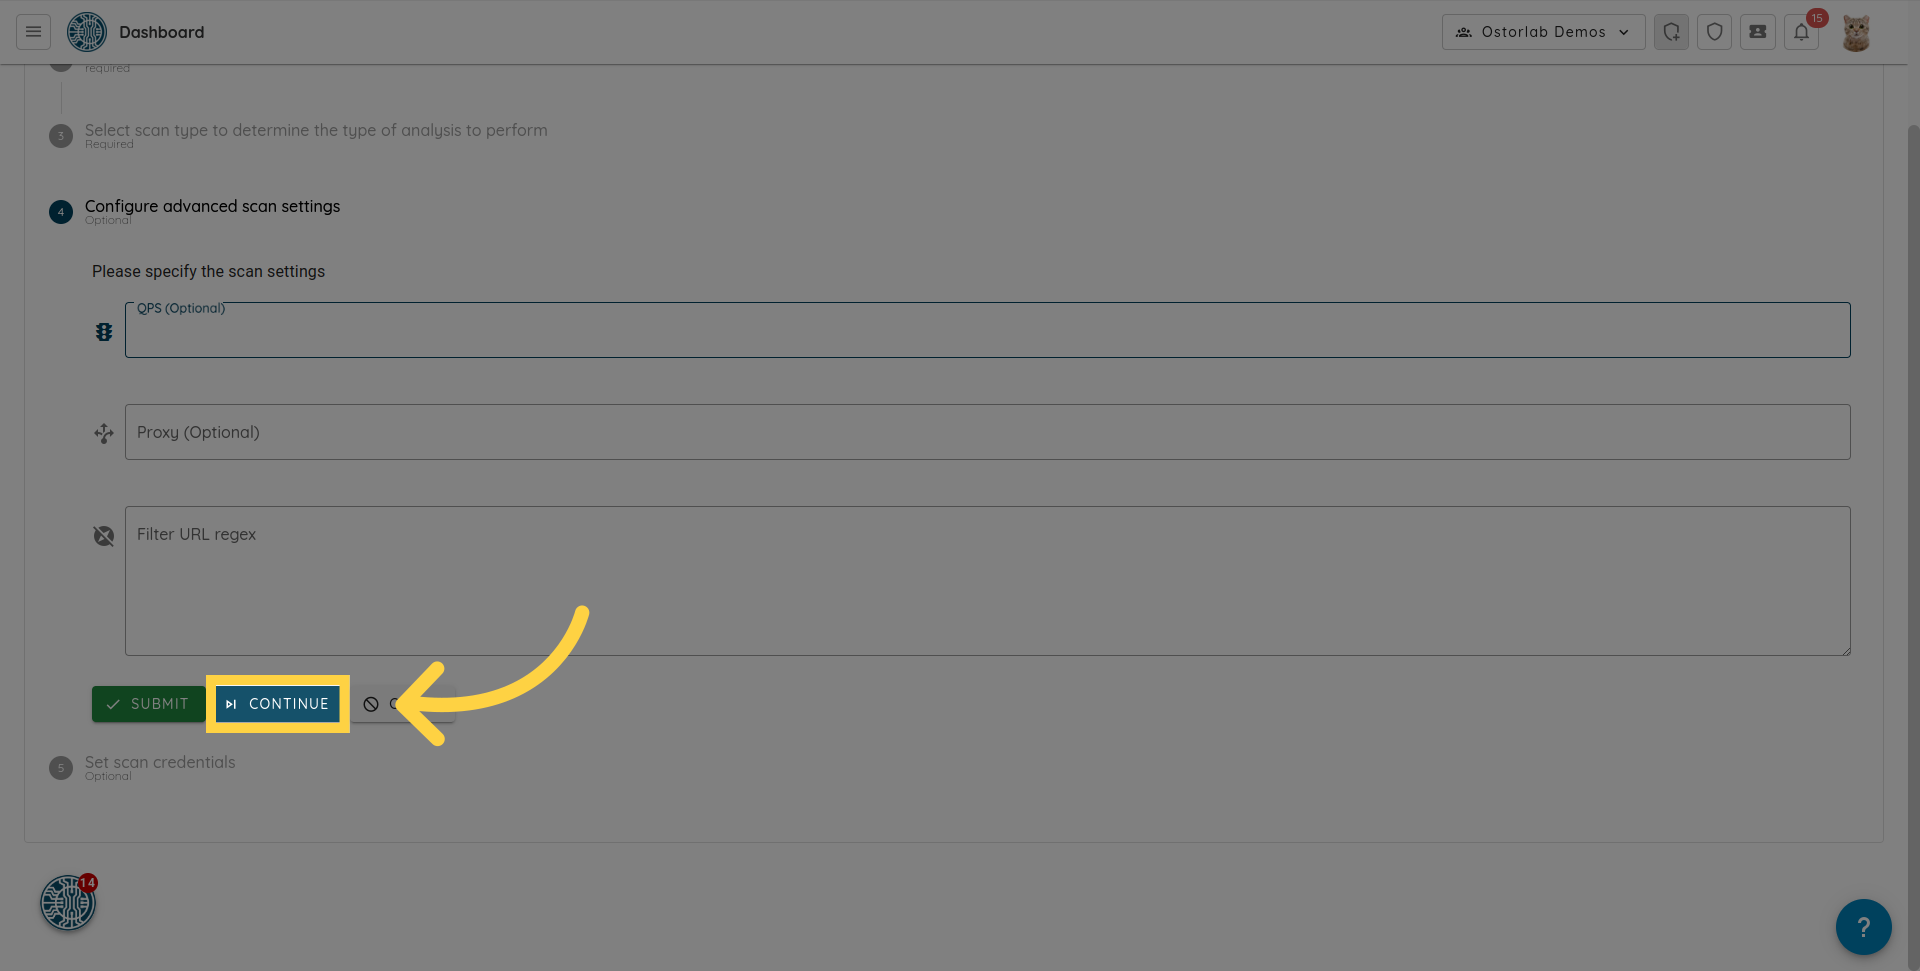
This section allows you to configure optional advanced scan settings such as the QPS to set the maximum number of queries per second. You can set a proxy and a filter URL regex.
11. Click "Continue"
Click on the "Continue" button to proceed to set the scan credentials.
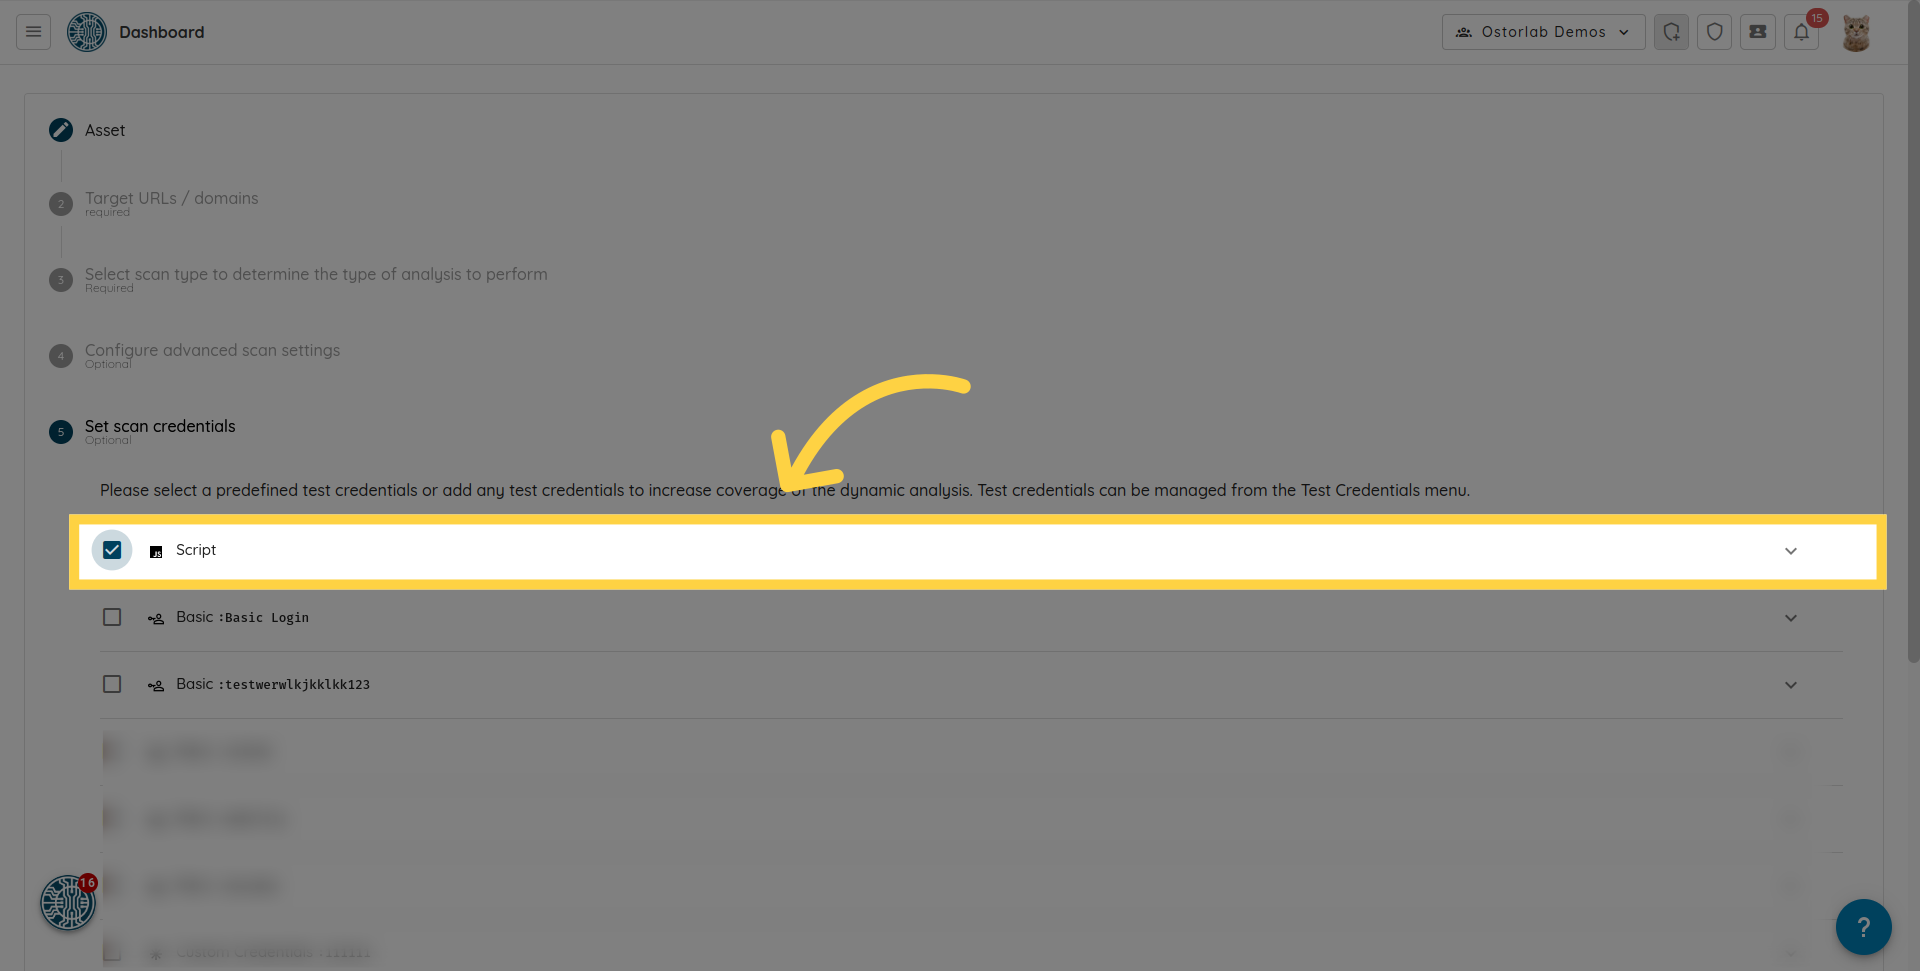
12. Select one or more predefined test credentials
This step allows you to select one or more predefined test credentials or add new ones. Test credentials increase the coverage of the dynamic analysis.
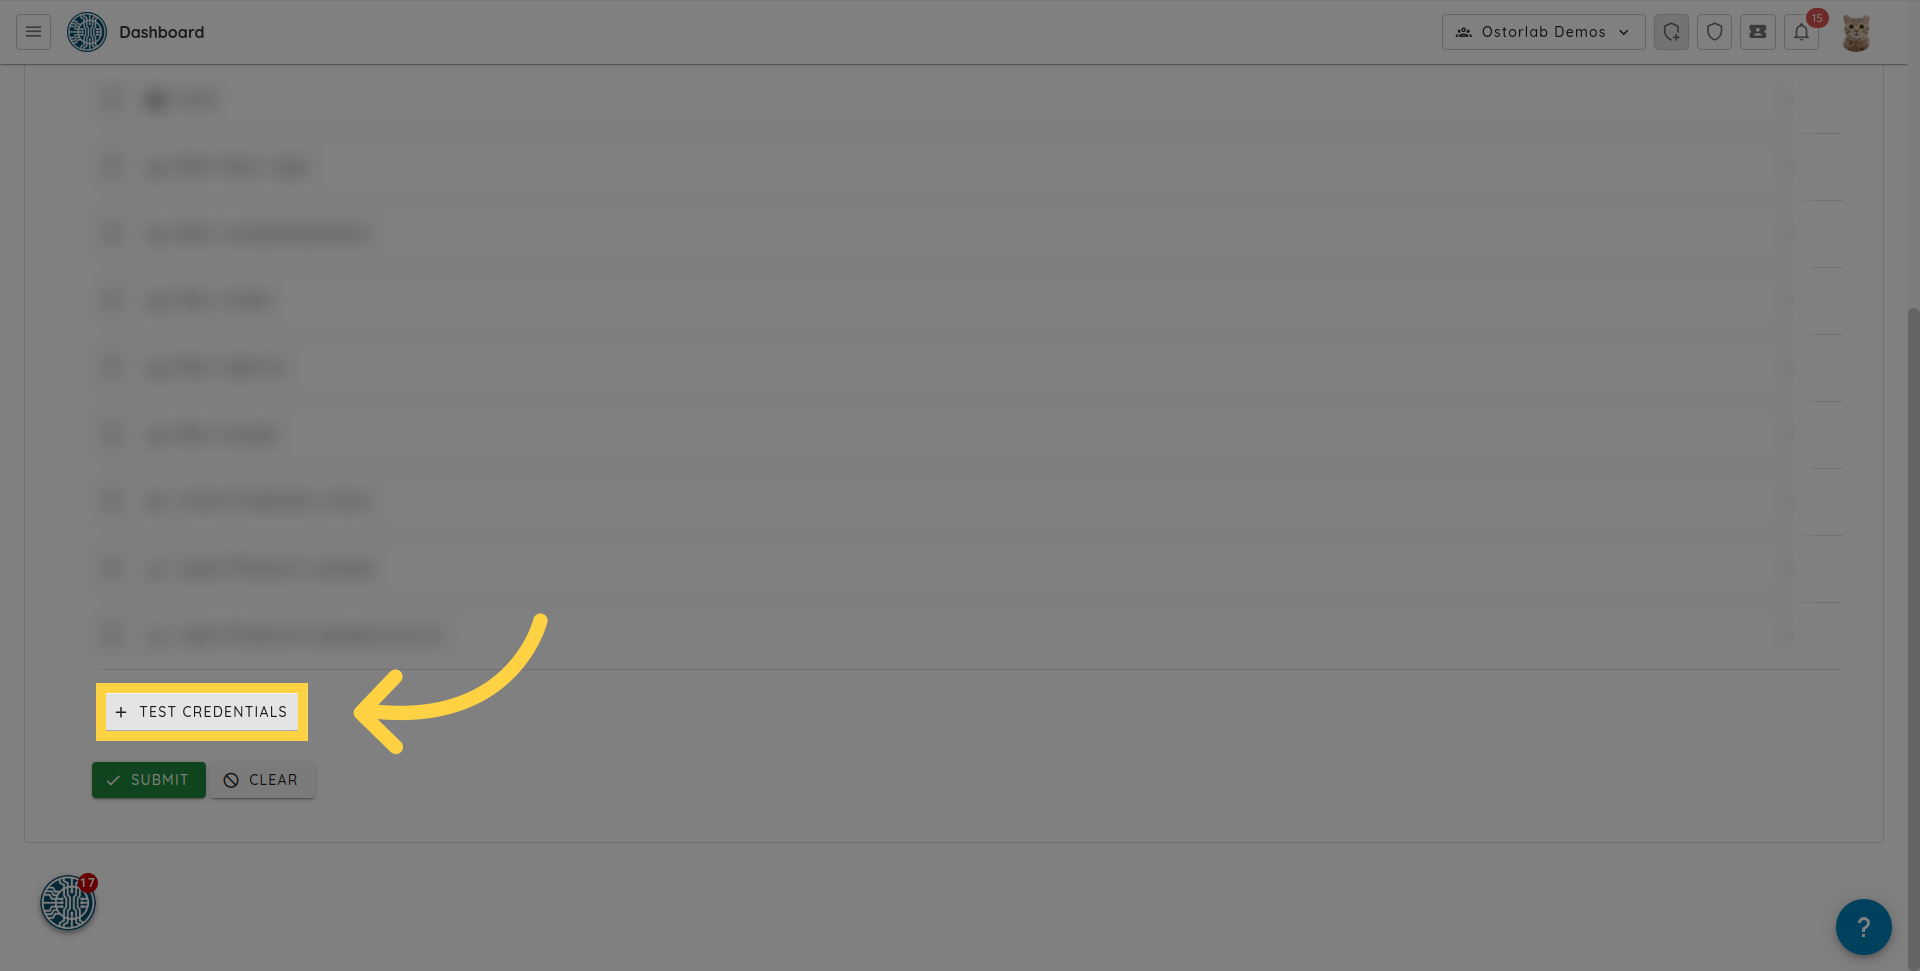
13. Click "Test Credentials"
You can also directly add test credentials by clicking the "Test Credentials" button.
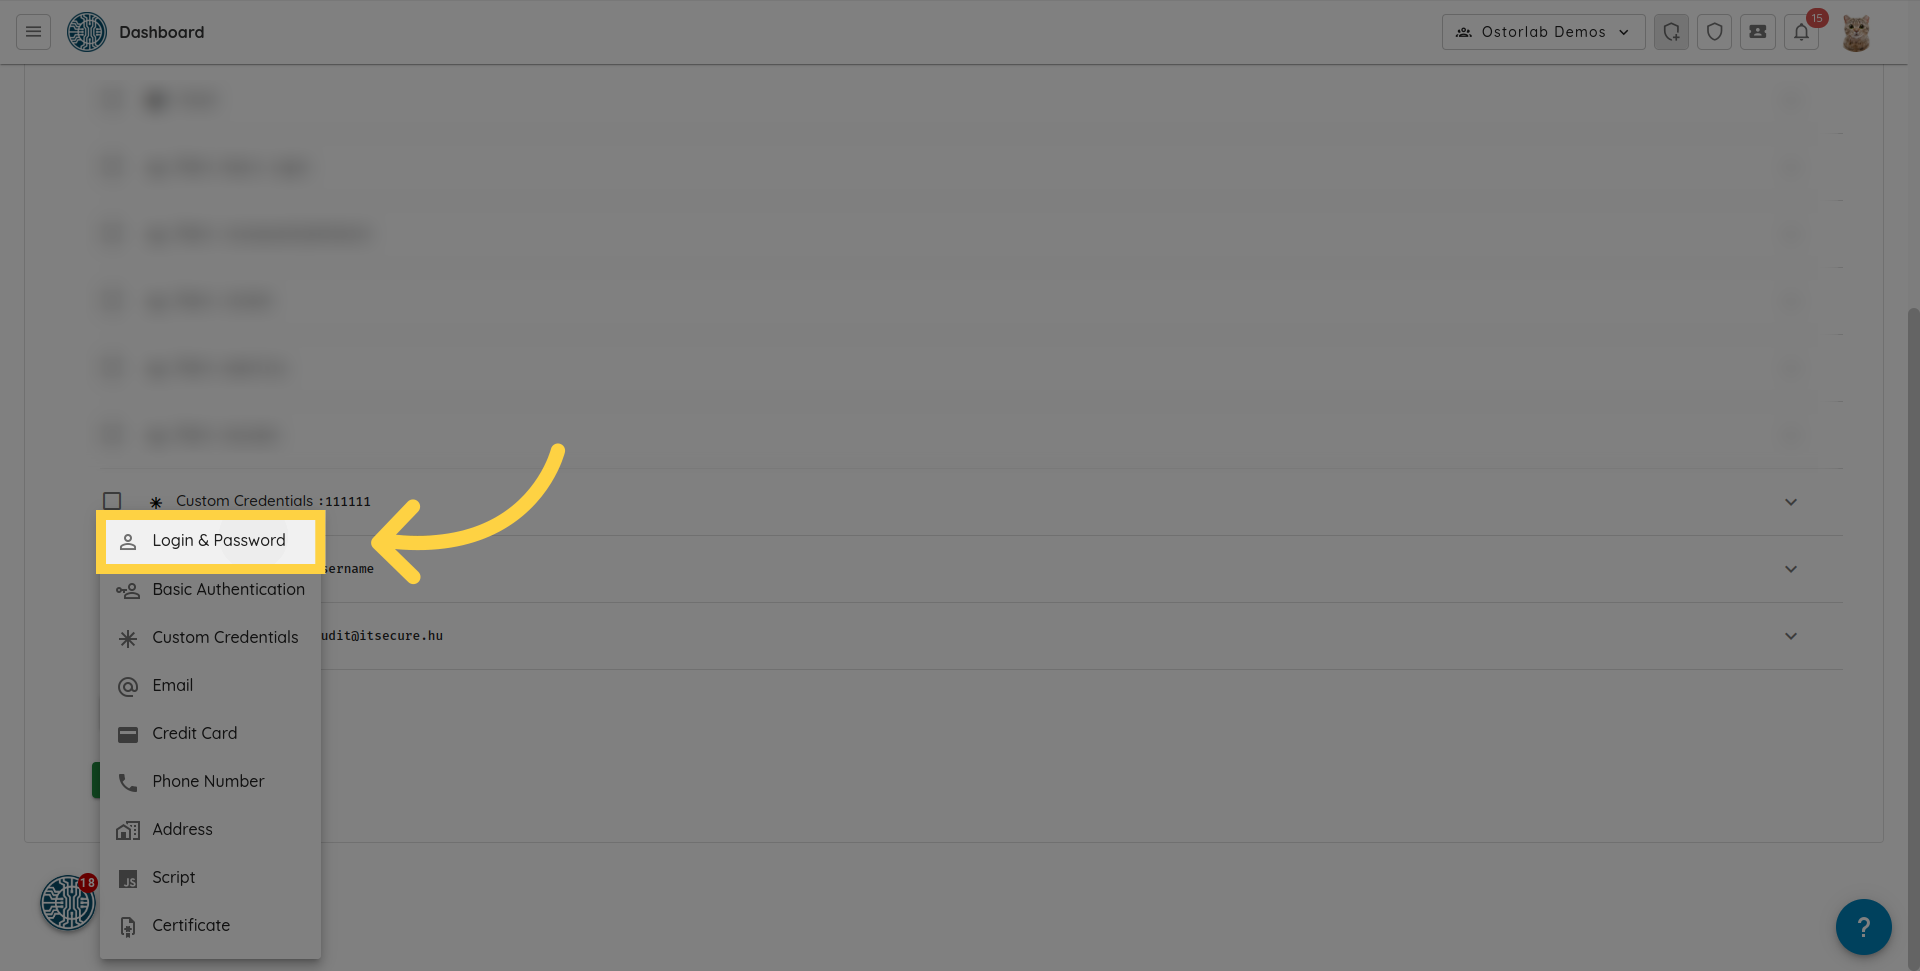
14. Add a test credential
The supported types are:
- Login & Password
- Basic Authentication
- Credit card
- Phone Number
- Address
- Certificates
- Script: Allows you to upload a puppeteer script. This can be very useful to enable complex authentication flows or complex interactions like checkout.
- Custom credentials: For custom form fields like username, password and domain name.
- HTTP Header: Allows you to provide headers such as Authorization, User-Agent, etc.
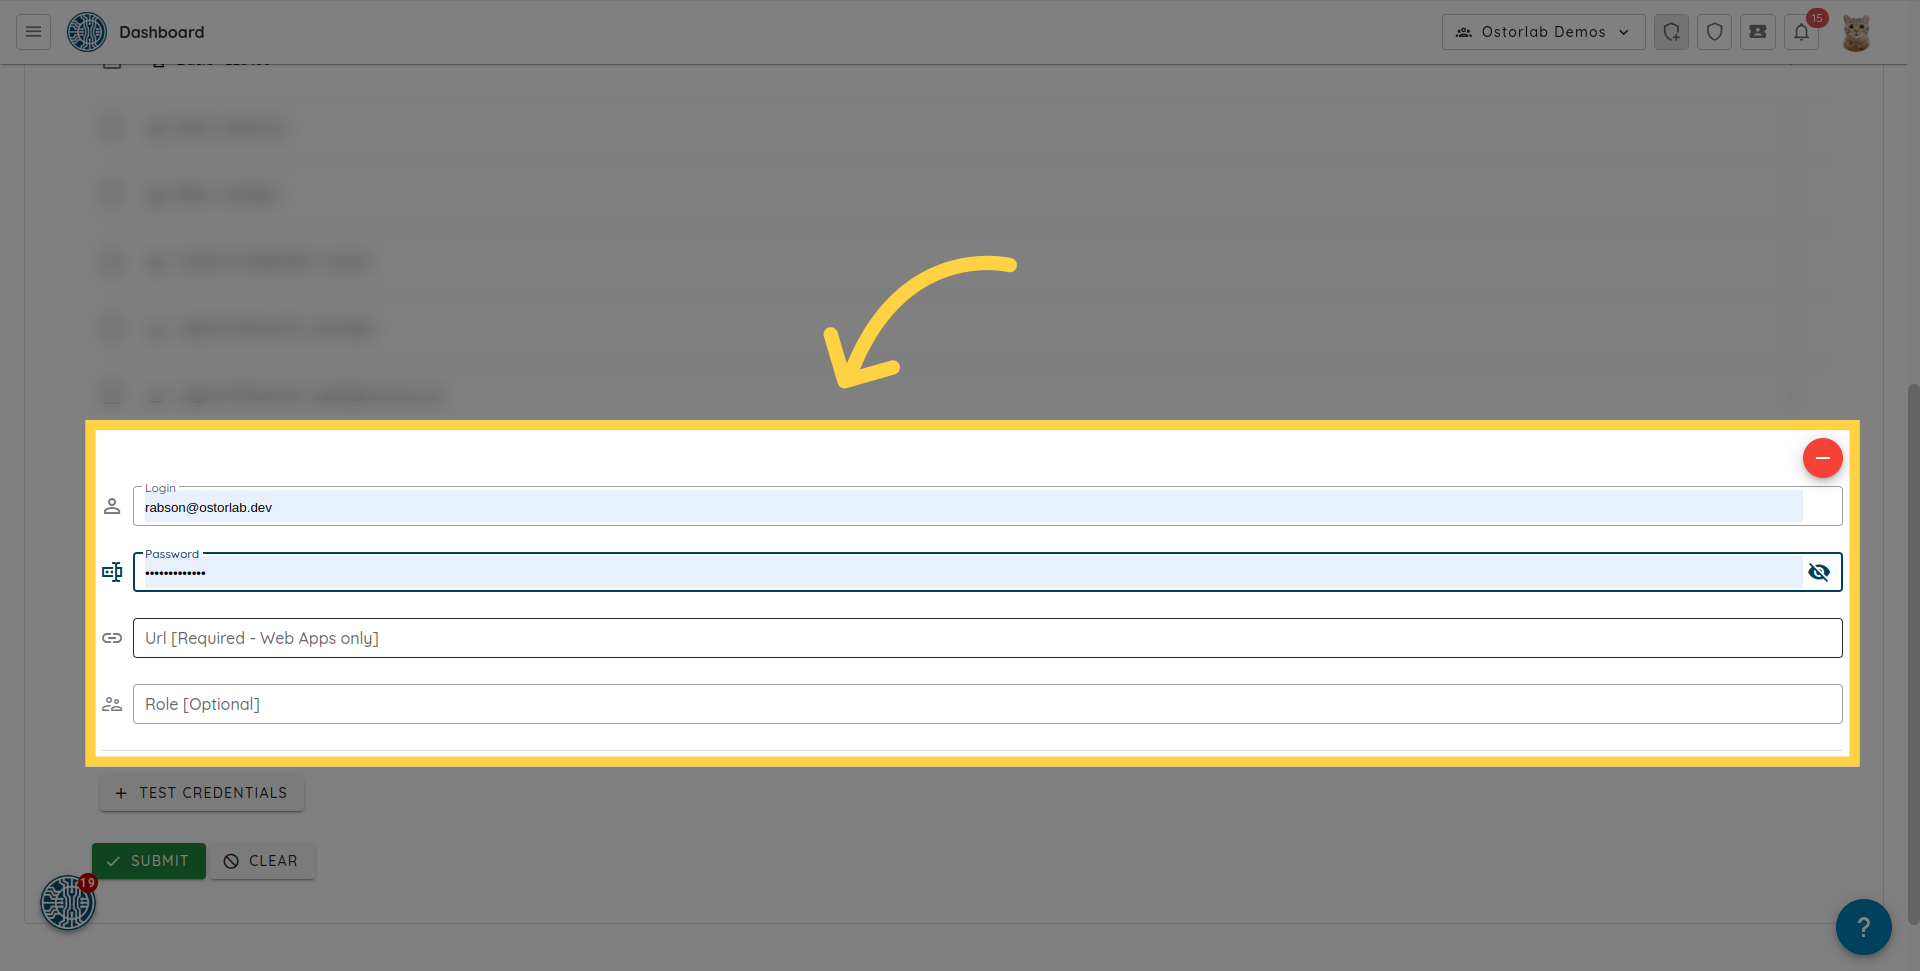
For example, to add a "Login & Password", select the "Login & Password" option from the test credentials menu.
Enter the login, password, and URL
Enter the login, password, and the URL. The test credential is then added to the scan once you click submit.
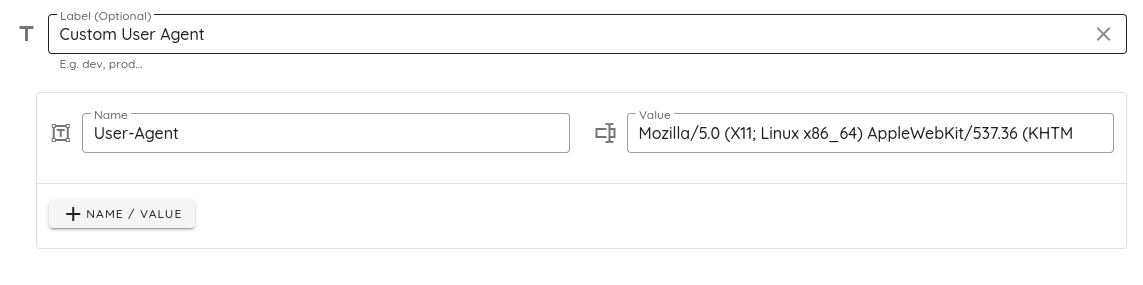
15. Provide A Custom User Agent
The HTTP User-Agent request header lets servers identify the application, vendor, and/or version of the requesting user agent.
Ostorlab uses a user agent when scanning web applications. However, users might sometimes want to provide their User Agent of choice to be used during the scan. To do so, simply add an HTTP Header Test Credential.
- Optionally enter a label to easily identify this test credential, e.g. "Custom User Agent".
- In the name field, enter User-Agent.
- In the value field, enter your User Agent of choice, e.g.
Mozilla/5.0 (X11; Linux x86_64) AppleWebKit/537.36 (KHTML, like Gecko) Chrome/51.0.2704.103 Safari/537.36.
When running an authenticated web scan, you can select this test credential in the "Set scan credentials" step and the web application will be scanned using the custom user agent.
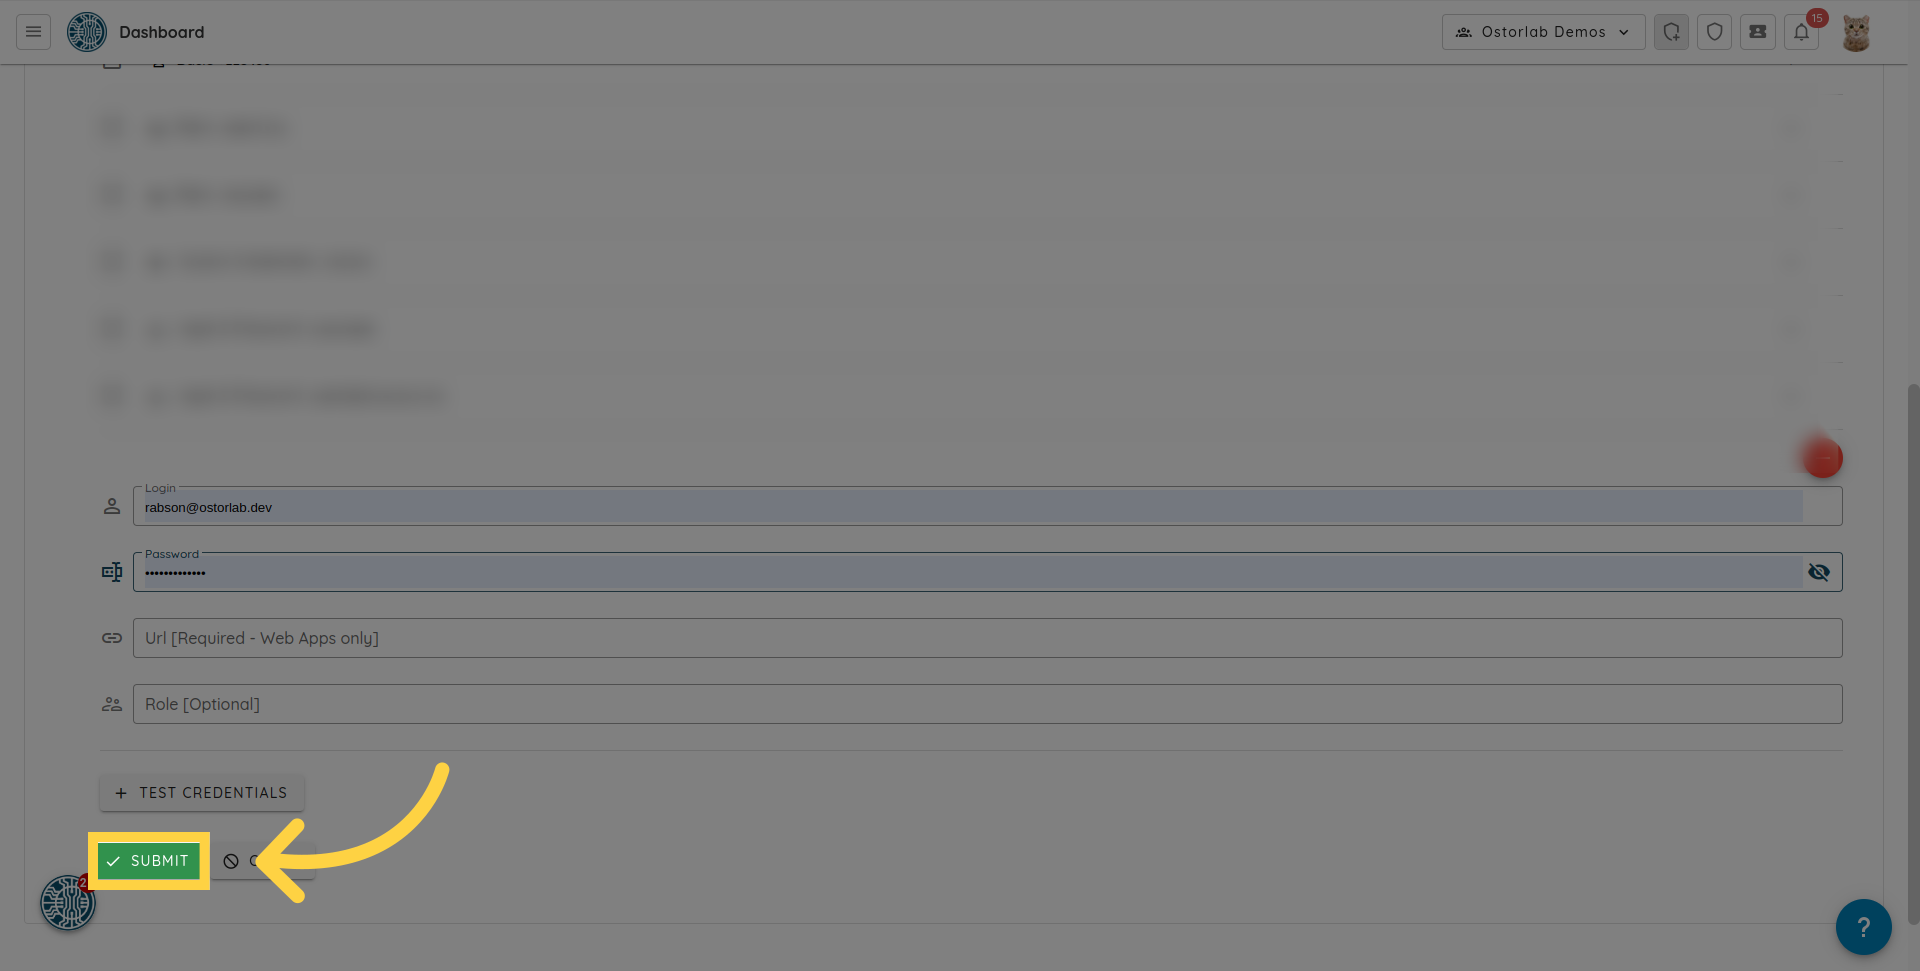
16. Click "Submit"
Click on the "submit" button to create the scan.
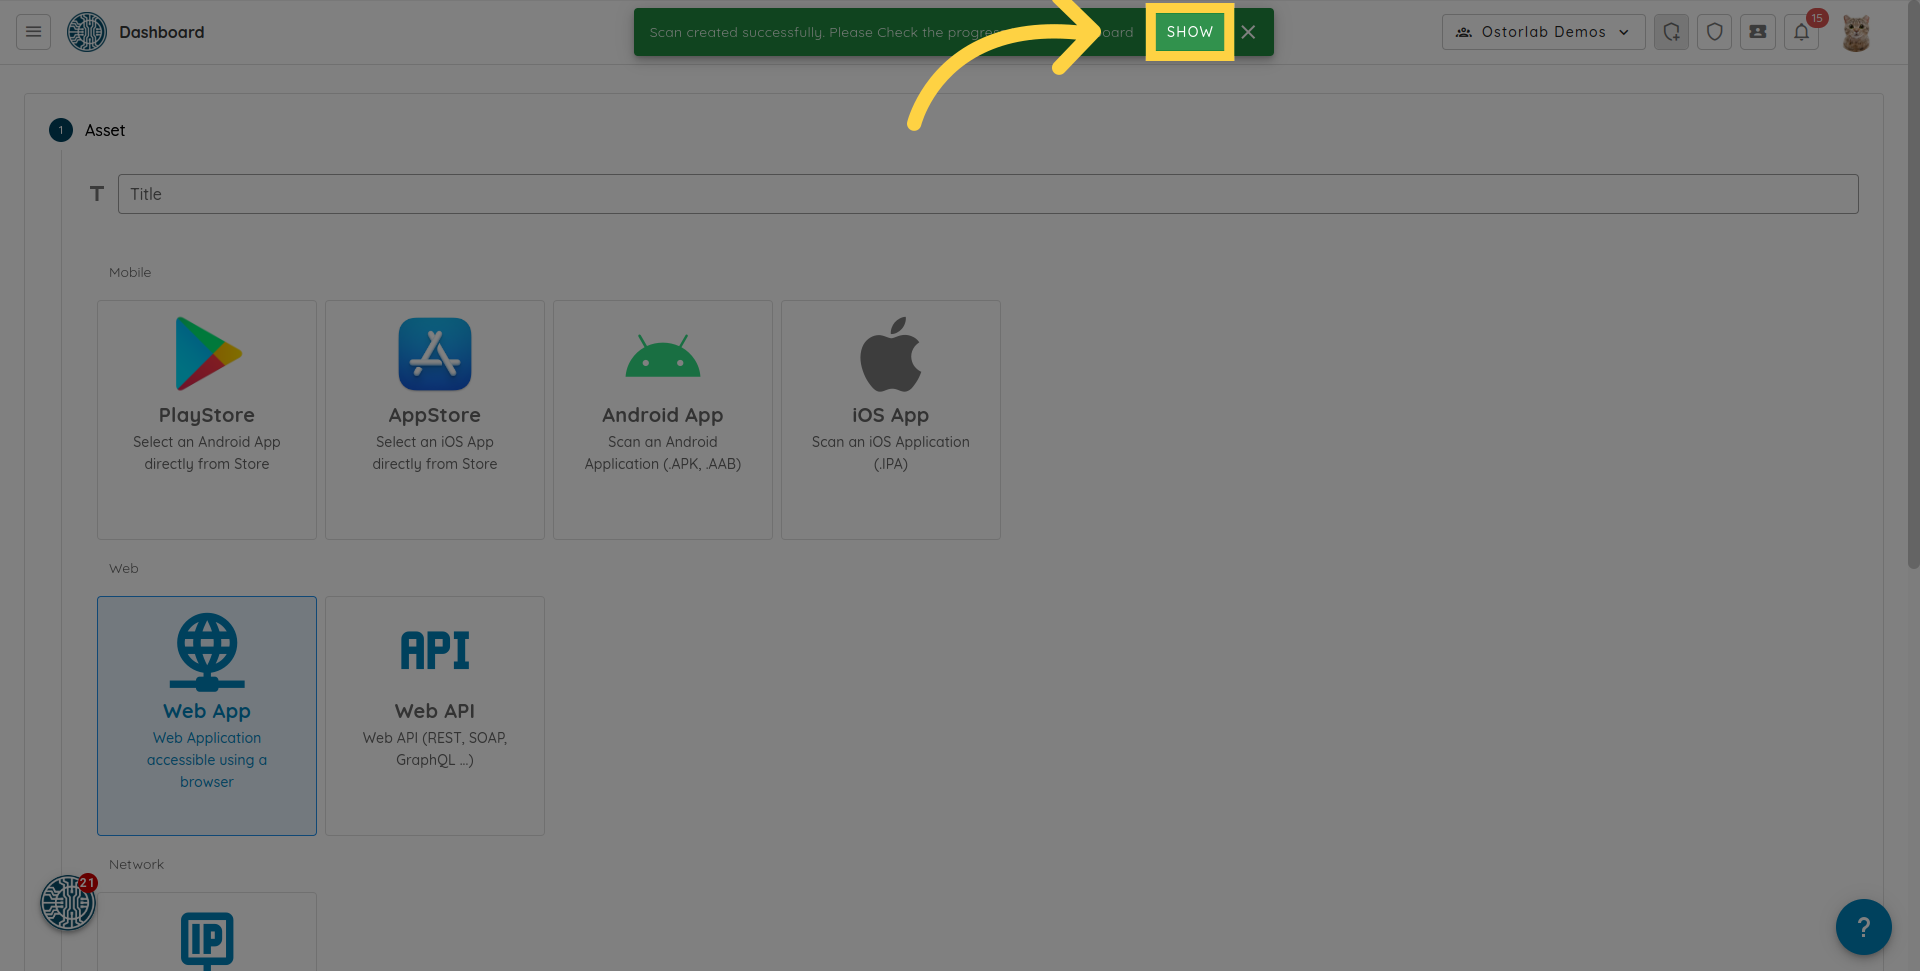
17. Click "Show"
The web scan will be created. You can click "Show" in the alert to go to the list of scans.
In this guide, you learned how to run an authenticated web scan using Ostorlab. The instructions covered configuring the scan settings, adding URLs and domains, and authenticating with login credentials. By following these steps, you can ensure a thorough and secure web scan for your applications.